
If your Epson printer has suddenly stopped working and displays an error, chances are the waste ink pad counter has reached its limit. The Epson Adjustment Program is the most reliable solution for resetting this counter, restoring full printer functionality, and getting back to printing without expensive repair bills. In this 2026 guide, we cover everything from downloading the tool to fixing Error E-11 across all major Epson L-series models.
What Is the Epson Adjustment Program?
The Epson Adjustment Program is an official maintenance utility developed by Seiko Epson Corporation. It is specifically designed to allow users and technicians to reset the internal waste ink pad counter, which tracks how much ink the printer’s pad has absorbed over time.
Think of it as a service reset tool similar to what a certified technician uses when you bring your printer to a repair shop. With this program, you can perform the same reset at home in just a few minutes, saving both time and money.
Key functions of this utility include:
- Waste ink pad counter reset: clears the overflow counter
- Ink charge: refills the ink path after cartridge changes
- EEPROM data read/write: for advanced printer configuration
- Head cleaning & alignment: improves print quality
- Fatal error reset: specifically addresses Error E-11 and similar codes
This tool is compatible with Windows 7, 8, 10, and Windows 11 (2026 updated builds). Mac compatibility is limited and discussed in the FAQs below.
Why Does Error E-11 Appear? (Waste Ink Pad Counter Explained)
Error E-11 is one of the most common Epson error codes. It appears that when the internal waste ink pad, a small sponge inside your printer, has absorbed so much ink that the printer’s firmware considers it full and locks the machine to prevent overflow.
This is a built-in safety mechanism. Epson programs a counter that counts every print job. Once it crosses the preset threshold (usually around 10,000 to 15,000 impressions, depending on the model), the printer displays Error E-11 and refuses to operate.
Common symptoms before Error E-11 triggers:
- The printer blinks red and orange lights alternately
- Printer stops mid-print with no clear reason
- Error message: “Parts inside your printer are at the end of their service life.”
- Blinking pattern: 1 orange + 1 green blink repeated
The waste ink pad itself may still have physical capacity; the counter is just a software limit. The Epson Adjustment Program resets this software counter back to zero, allowing the printer to function normally again.
How to Use the Epson Adjustment Program Step by Step
Using the Epson Adjustment Program is straightforward even for non-technical users. Follow the steps below carefully to avoid errors during the reset process.
Download & Install the Program
- Search for the adjustment program specific to your Epson model (e.g., “Epson L3110 Adjustment Program”)
- Download the .zip file from a trusted source, and avoid unofficial sites that bundle malware
- Extract the .zip file to a dedicated folder (e.g., C:\EpsonReset\)
- Right-click the .exe file and select “Run as Administrator.” This is required for the program to communicate with your printer
- If Windows SmartScreen blocks it, click “More Info” → “Run Anyway.” This is normal for third-party tools
Note: No installation wizard is required. The program runs directly as a portable executable.
Connect Your Epson Printer
- Connect your Epson printer to the PC via a USB cable (a Wi-Fi USB cable is required for the reset)
- Turn the printer ON and make sure it is recognized by Windows (check Device Manager if unsure)
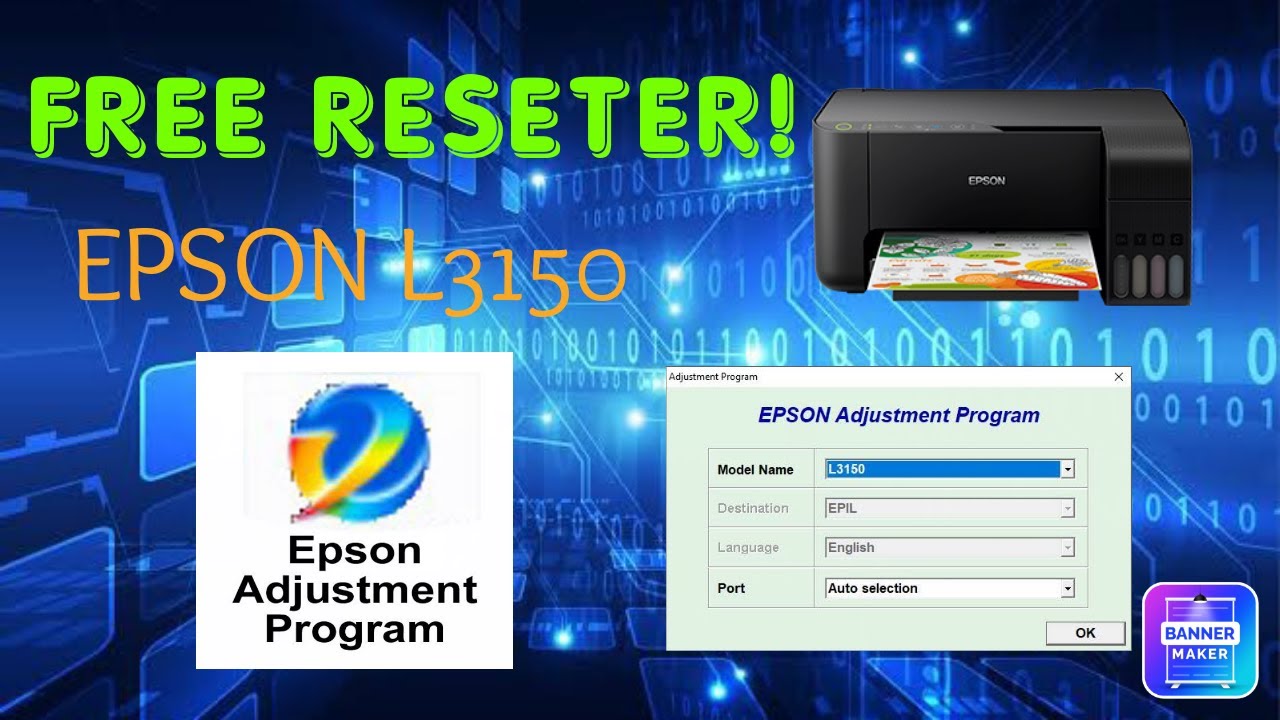
- Open the Adjustment Program it will automatically detect connected Epson printers
- Select your printer model from the dropdown list
- Click “OK” to proceed to the main adjustment menu
Reset the Waste Ink Pad Counter
- In the main menu, click “Particular Adjustment Mode.”
- From the list, select “Waste Ink Pad Counter” and click OK
- You will see current counter values (Main Pad and Platen Pad)
- Check both checkboxes: “Main Pad Counter” and “Platen Pad Counter.”
- Click the “Initialization” button. This resets both counters to zero
- You will see a confirmation message. Click “Finish”
- Power off the printer completely, wait 10 seconds, then power back on
Your Epson printer should now start normally without Error E-11. If the error persists, the physical waste ink pad may need replacement as well.
Epson Adjustment Program by Model Free Download
The Epson Adjustment Program is model-specific; a program for the L3110 will not work on an L130. Below is a breakdown of supported model groups for 2026:
Epson L130, L132, L220, L222, L310, L312, L362, L364, L365, L366
These are early-generation EcoTank and InkTank models released between 2015 and 2018. They use a shared adjustment program file compatible across this entire series. Common issues include ink pad errors after 2 3 years of heavy use.
- Compatible OS: Windows 7, 8, 10
- Reset type: Waste Ink Pad Counter + Ink Charge
- File size: Approx. 2 4 MB (.exe inside .zip)
Epson L382, L386, L486
Mid-range multifunction models with scanning and copying capabilities. These models have a slightly different counter architecture, so a dedicated adjustment file is needed. The L486 also supports wireless printing and has an additional “Wi-Fi Reset” function in the program.
- Compatible OS: Windows 7, 8, 10, 11
- Reset type: Waste Ink + Power Cleaning + EEPROM
- Note: Run as Administrator is mandatory for L486
Epson L1110, L3100, L3101, L3110, L3111, L3116, L3150, L3151, L3156, L5190
These are the latest-generation EcoTank models (2019–2026) and are among the most widely sold Epson printers worldwide. They feature borderless printing, smartphone connectivity, and higher-capacity ink tanks.
- Compatible OS: Windows 10, 11 (recommended), Windows 7/8 with driver patch
- Reset type: Full waste ink reset, head cleaning pattern, nozzle check
- The L5190 additionally supports “Network Reset” within the program
Important: Always download the version that matches your exact model. Using the wrong program can cause the printer to enter service mode.
How to Print on DVD or CD Using Epson Software
Certain Epson inkjet models support direct disc printing, a feature that lets you print artwork, labels, or text directly onto printable CDs and DVDs. This is a distinct feature from the waste ink reset and uses a companion tool called Epson Print CD.
Epson Print CD Software Setup
Epson Print CD is a free utility available from Epson’s official website. Compatible models include the Epson L800, L805, L1800, and other photo/disc-printing variants.
- Download Epson Print CD from epson.com/support
- Install it like a standard Windows application
- Open the software and create a new project, select disc type (CD or DVD)
- Use the built-in template library or design from scratch
- Set your printer as the default device inside the software
Step-by-Step DVD/CD Printing Guide
- Load the printable disc into the disc tray that came with your printer
- Insert the tray into the printer’s disc feed slot (usually front-facing)
- In Epson Print CD, click “Print” and select your design
- Choose “Disc Print” in the print dialog, do NOT use the standard paper print option
- Click Print and wait. Do not interrupt the process as the disc tray moves automatically
Tip: Always use discs labeled “Printable” or “Inkjet Printable.” Standard silver discs will reject ink and produce poor results.
Common Epson Adjustment Program Errors & Fixes
Even when using the Epson Adjustment Program, users sometimes encounter issues. Here are the most frequent problems and their solutions:
Error E-11 Fix
If Error E-11 persists after running the reset:
- Confirm the USB connection is active and stable
- Ensure the program version matches your exact printer model
- Try running the program on a different USB port
- If the physical waste ink pad is saturated with ink, replace it; the reset alone may not be enough
- After the reset, restart both the printer and the computer before testing
Program Not Responding
This usually occurs on Windows 11 due to compatibility mode issues:
- Right-click the .exe → Properties → Compatibility → Set to Windows 7
- Run as Administrator (mandatory)
- Disable antivirus temporarily, some AV software flags the tool as PUP (Potentially Unwanted Program)
- Make sure no other Epson software (like Epson Status Monitor) is running in the background
Printer Not Detected
If the program launches but cannot find your printer:
- Switch from Wi-Fi to USB. The adjustment program requires a direct USB connection
- Update your Epson USB driver via Device Manager
- Try a different USB cable. Some cables are charge-only and do not transfer data
- Restart the Epson printer spooler service: Run → services.msc → Print Spooler → Restart
Is the Epson Adjustment Program Safe to Use?
This is one of the most frequently asked questions, and the answer is: yes, when used correctly.
The Epson Adjustment Program directly interfaces with your printer’s EEPROM (internal memory chip). If used with the wrong model version or during an unstable USB connection, there is a small risk of corrupting printer settings. To stay safe:
- Always match the program to your exact model number
- Use a reliable USB cable and do not disconnect during the reset
- Only reset the “Waste Ink Pad Counter” section unless you know what other adjustments to make
- Do not click “Initialize All” unless instructed by a technician, as this wipes all factory settings
From a security standpoint, download the program only from reputable sources. Many third-party websites bundle adware with the installer. Scan any downloaded file with Windows Defender before running it.
Epson Adjustment Program vs Manual Reset: Which Is Better?
Some users attempt to manually reset Epson printers using button combinations or EEPROM editors. Here’s how both approaches compare in 2026:
| Feature | Adjustment Program | Manual/Button Reset |
| Accuracy | Precise counter reset | Partial reset only |
| Ease of Use | Simple GUI, 5 minutes | Complex button sequence |
| Risk Level | Low (correct model) | Medium-High |
| Model Coverage | All L-series models | Limited models only |
| Additional Functions | Head clean, ink charge, EEPROM | Counter reset only |
| 2026 Compatibility | Windows 10/11 supported | Varies by firmware |
Verdict: The Epson Adjustment Program is clearly the superior option for most users. Manual resets are unreliable, model-specific, and do not offer the additional maintenance functions that the program provides. For permanent results, always use the dedicated adjustment tool.
Conclusion
The Epson Adjustment Program remains the most effective and trusted solution in 2026 for resetting waste ink pad counters, fixing Error E-11, and maintaining your Epson printer’s long-term health. Whether you own a budget L130 or a feature-packed L5190, this tool covers virtually every EcoTank and InkTank model available today.
Rather than spending money on a service center visit or buying a new printer, a 5-minute reset with the right adjustment program can extend your printer’s life by years. Just make sure you download the correct version for your model, use a USB connection, and follow the steps outlined in this guide.
For ongoing printer health, it’s also worth replacing the physical waste ink pad every 2–3 years, depending on usage. The software reset does not clean the physical pad; it only resets the counter tracking it.
FAQs:
What is the Epson Adjustment Program used for?
It is a maintenance utility used to reset the waste ink pad counter, fix fatal errors like E-11, perform ink charge cycles, and access advanced printer settings such as EEPROM read/write. It is the standard tool used by Epson service technicians worldwide.
How do I fix Error E-11 on my Epson printer?
Download the Epson Adjustment Program for your specific model, connect your printer via USB, launch the program as administrator, navigate to “Particular Adjustment Mode” → “Waste Ink Pad Counter,” check both counter boxes, and click “Initialization.” Restart the printer after the reset is complete.
Is the Epson Adjustment Program free to download?
The base versions for most Epson L-series models are available for free from various reputable tech support websites. Some premium versions with additional features are sold for a small fee. Always scan downloads before running them to avoid bundled software.
Does the Adjustment Program work on all Epson models?
It works on most Epson EcoTank and InkTank L-series models, including the L130, L220, L310, L3110, L3150, L5190, and many more. However, each program file is model-specific; you must download the version that matches your exact model number.
How many times can I reset the waste ink pad counter?
There is no official limit to how many times you can reset the software counter. However, the physical waste ink pad has a finite absorption capacity. If you reset the counter without replacing the pad, ink may eventually leak inside the printer. Most users replace the pad every 2–3 resets for safe operation.
Can I use the Adjustment Program on a Mac?
Official Mac support is extremely limited. The Epson Adjustment Program is primarily a Windows application. Mac users can try running it through a Windows virtual machine (using Parallels or VMware Fusion) with a USB pass-through connection to the printer. Native macOS support is not available for most models as of 2026.

